In this post, I explain an alternative WordPress website development environment for developers who enjoy developing in a windows environment. It’s relatively easy and user-friendly than the traditional method of WordPress installation.
Before I begin, please note that this article is meant for individuals with prior experience in developing WordPress websites and as a result certain details are assumed.
Prerequisites
The first step is to download and install WebMatrix 3 from Microsoft’s website. Here are some basic perquisites for the installation:
- Microsoft Web Matrix
- Microsoft .NET Framework 4
- Microsoft SQL Server Compact 4.0
- Microsoft SQL Server Compact 4.0 Tools
- ASP.NET Web Pages
- ASP.NET Web Pages Language Packs
- Web Deployment Tool 2.0 without bundles SQL support
- IIS 7.5 Express
These components usually come with WebMatrix software, if you don’t already have them on your machine.
Creating a New WebMatrix Project
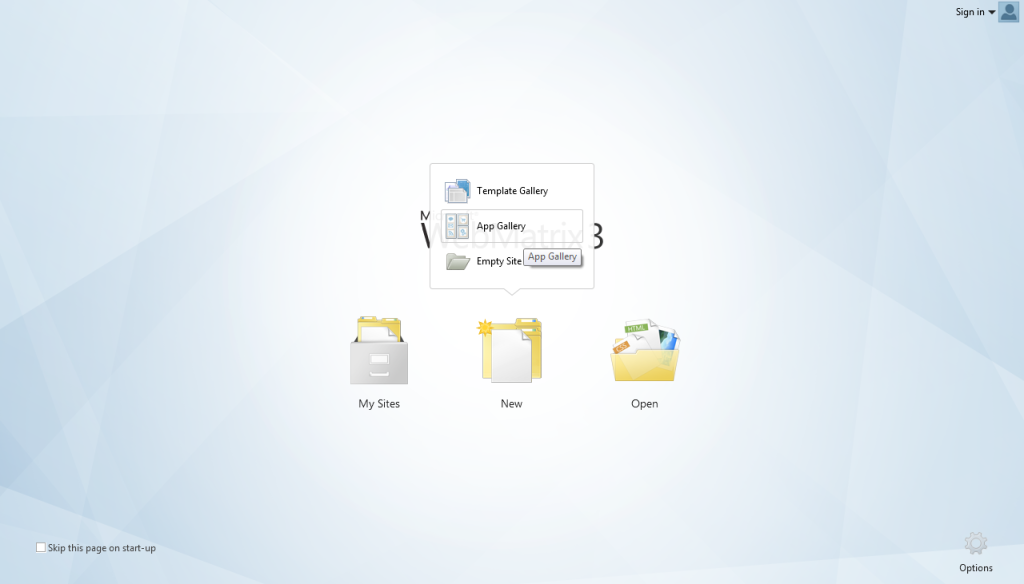
Once installed, open WebMatrix from the start menu and you will be greeted with the screenshot below. Click on “New” and select “App Gallery”.
Using WordPress Framework
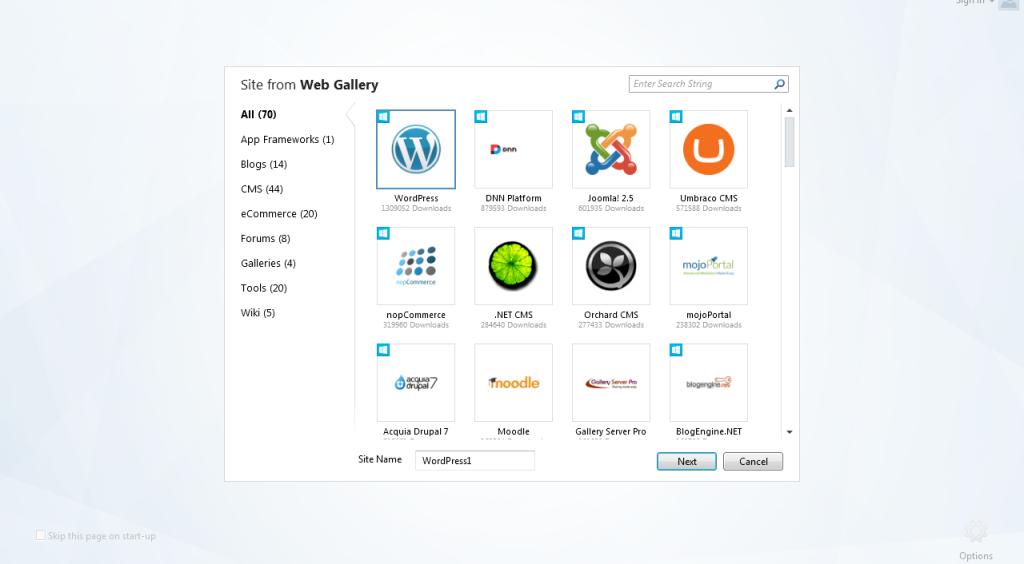
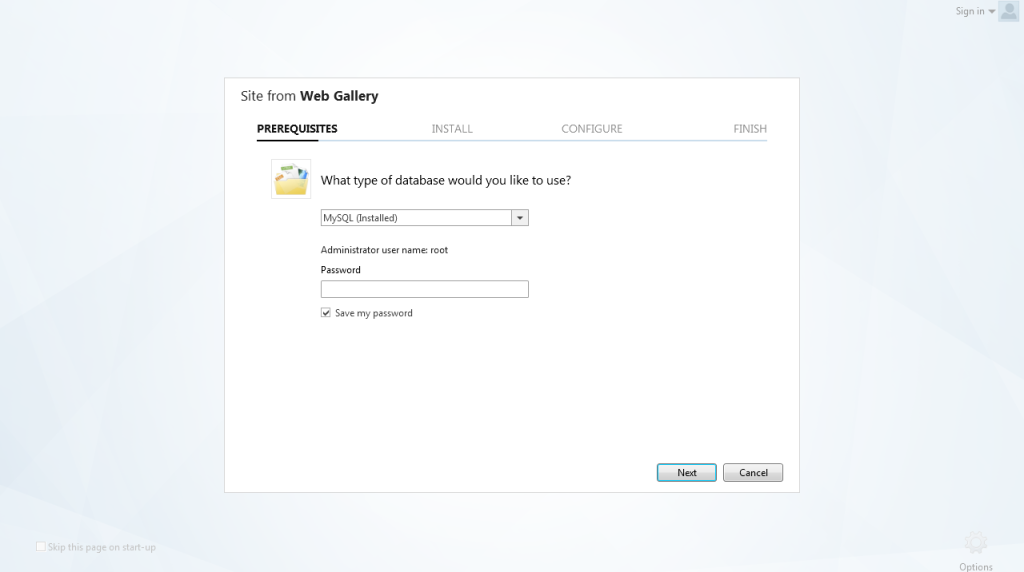
The gallery shows about 70 other frameworks that are interoperable with WebMatrix. Select “WordPress”, give your website an appropriate name and click “Next”. This will show a database screen as shown in Fig. 3 below.
Setting Up Database
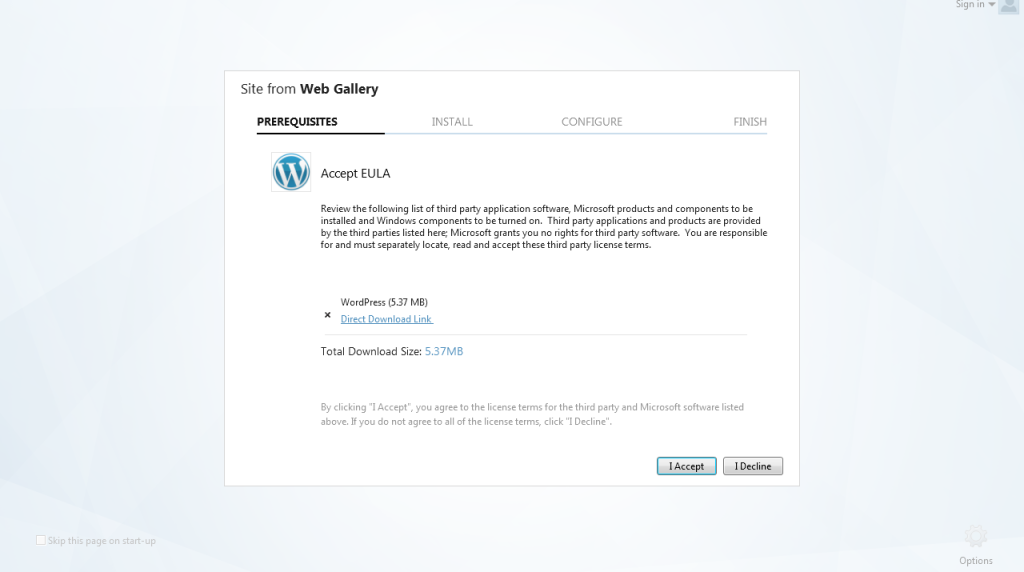
If you already have MySQL on your machine, that should be the default selection. Keep default and enter the administrator password of the server and click “Next” and accepts terms in Fig 4.
Accepting Microsoft Licensing Agreement
Database Details
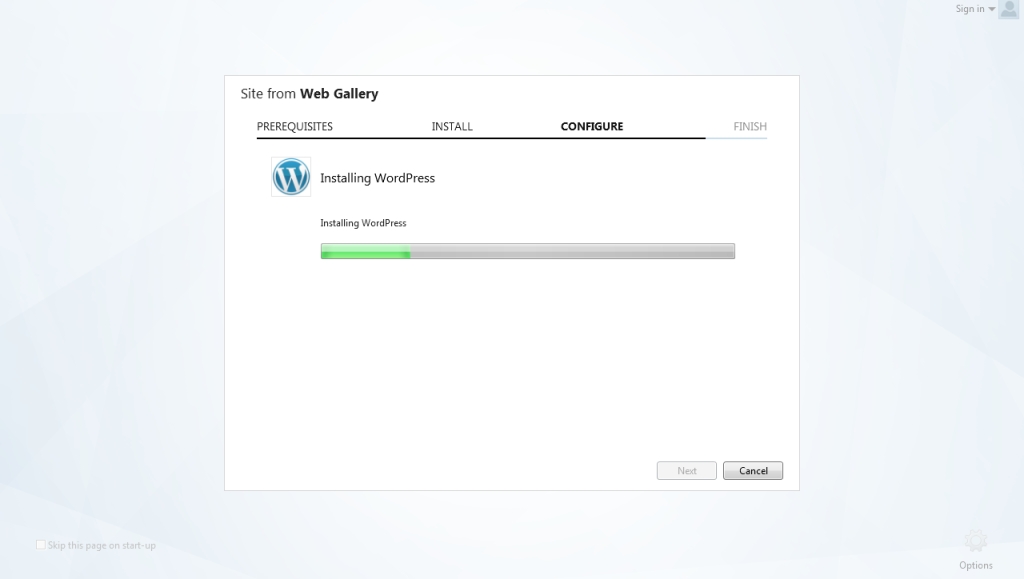
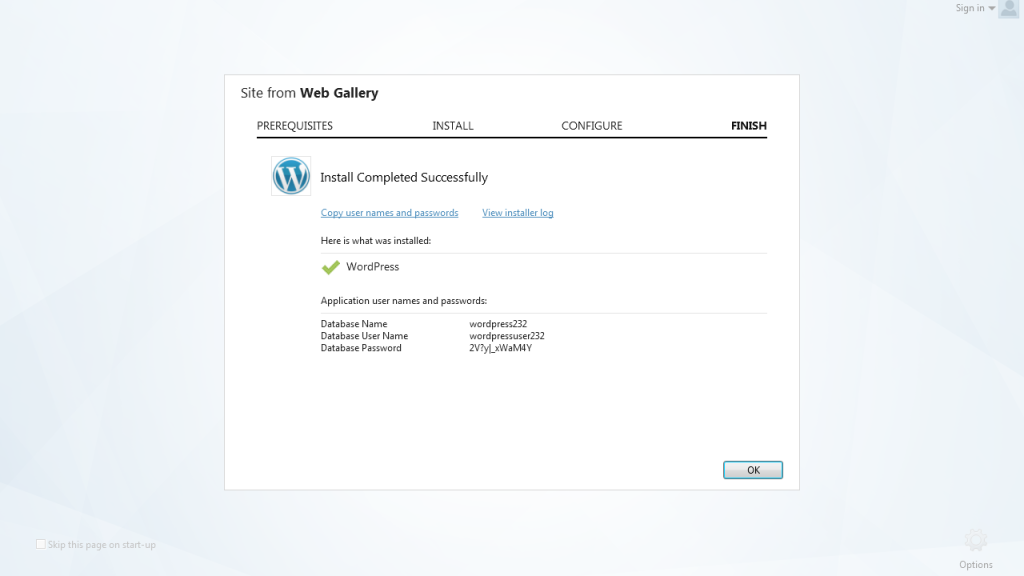
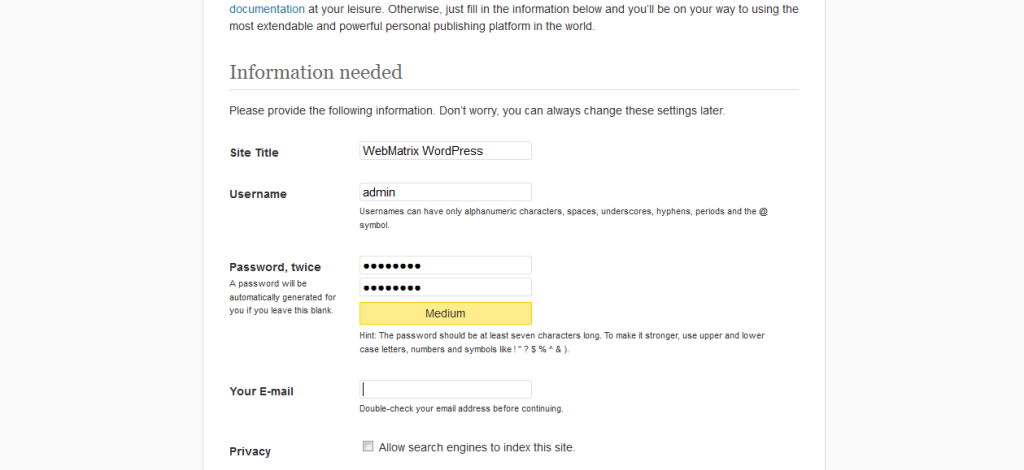
WebMatrix automatically generates the database name, user and password for the WordPress website, and starts the browser. This should indicate to you that your installation was successful. See Fig. 6 & 7 below.
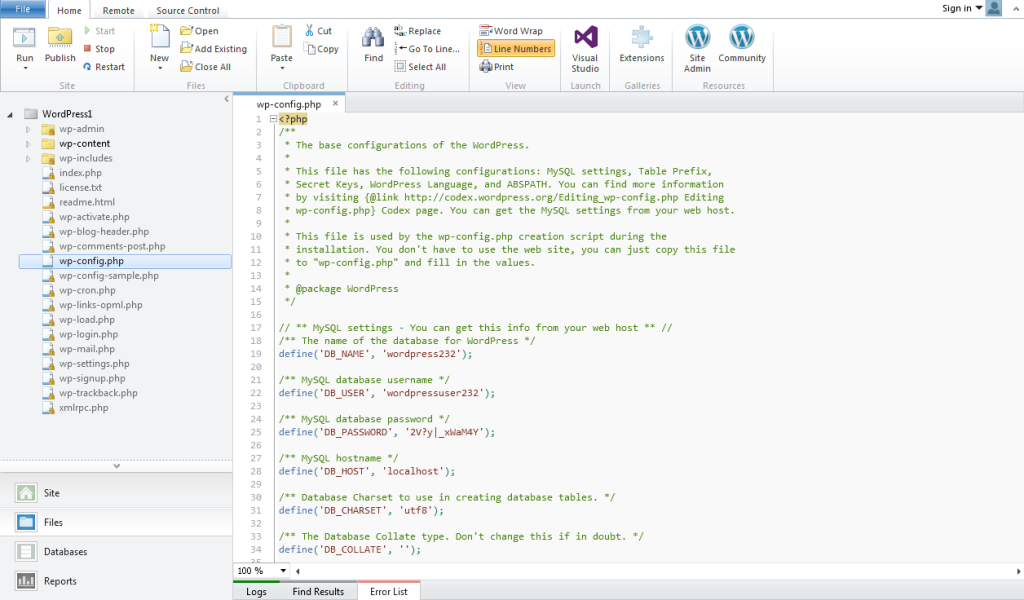
Integrated Development Environment
WebMatrix provides an Integrated Development Environment for code editing, content and database management.


